Preparing Your Shed For Summer and Winter
Storing seasonal items in a shed frees up space in your garage or basement and protects them from mold, mildew and rodents.
Before you pack away the children’s summer toys and garden tools for winter storage in your shed, take these important steps to prepare it properly.
1. Inspect and Repair
A shed is more than just storage; it’s an investment. Ohio is home to humid summers and freezing snowfall; as such, steps need to be taken in order to ensure that any potential damages from Ohio weather don’t affect its structure over time.
Regular inspections are key to identifying issues before they become more serious. Do a physical walkaround of your shed on an ongoing basis to make sure it’s in top shape for each season ahead, checking for loose shingles, cracked or chipped siding panels, foundation cracks or signs of water damage.
At the beginning of spring, it is essential that your shed be thoroughly cleaned inside and out. Start by clearing away cobwebs and dust to reveal areas in need of cleaning or repair; next remove leaves and debris from gutters and roof to ensure water drains efficiently; lastly wash it down using a soft soap solution in water to brighten its appearance and remove any mold or mildew that has developed during the winter season.
Reorganizing your shed after you’re done cleaning is also beneficial; this will make finding items more easily while decreasing the chance of pests finding entry to it. Reorganizing also gives you an opportunity to ensure all of your gear is in working condition prior to storing for summer; remove oil from leaf blowers, lawn mowers and any powered equipment before cleaning and storing them properly; additionally clean and store garden hoses or cables accordingly.
As fall approaches, your shed should be thoroughly reorganized to be ready for winter weather. Trim any branches hanging over it that could pose a danger during snowfall and ensure all doors and windows open and close smoothly while sealing tight enough to block out cold air or any unwanted guests such as rodents and bugs from sneaking inside; caulk may need to be used if gaps exist; additionally you should move any warm-weather equipment backwards while adding seasonal supplies like snow shovels and gardening tools for use this season.
2. Insulate
Insulation can transform your shed into an energy-efficient workshop or hobby space that protects your belongings from North Carolina’s temperature fluctuations and humidity levels. Insulation also helps cut heating and cooling costs by keeping your shed cooler in summer than winter allowing year-round use.
Shed insulation options vary, with fiberglass being the least costly and easiest to install on your own. Foam board insulation boasts higher R-value per inch than fiberglass while offering superior moisture resistance – but is more costly overall. Finally, spray foam has the highest R-value per inch among any insulation type, yet requires professional installation and is more expensive overall.
Dependent upon how you intend to use your shed, a vapor barrier may also be needed in addition to insulation. If you intend on heating and cooling it regularly, having an adequate vapor barrier in place is especially crucial; mixing interior-conditioned heating/cooling with elements in walls/ceilings could lead to condensation damage which could compromise its structural integrity. Most fiberglass and Rockwool stone insulation come equipped with this feature (R-value listed on packaging); for OSB boards using OSB insulation it should be covered using 6-mil plastic sheeting covering your insulation before installation.
Installing insulation requires carefully measuring your shed and noting any electrical wires or boxes that need accessing. When cutting insulation, be careful not to compress it too much as this reduces its insulating power; once reaching an area with wires, cut slits several inches from its box or outlet and leave enough space between for them.
Once your insulation has been installed, be sure to seal any gaps and check for signs of leaks or cracks. Add rafter vents if your roof isn’t already insulated to keep air flowing through and prevent moisture accumulation in your shed. Enjoy your new shed! If you want something customized just for you – say your dream workshop or backyard studio space – contact us and see how we can transform your space!
3. Clean and De-Clutter
Sheds can provide extra storage space, but they can quickly become disorganized. If you are uncertain what items belong in your shed or just have too much stuff it may be time to start decluttering. The first step should be deciding what belongs in it and what shouldn’t. For instance if something doesn’t match its purpose in your shed or doesn’t have room in your garage it should probably not belong there – now would also be an opportune time to consider upgrades that could improve it further.
Prior to beginning any deep cleaning in your shed, it is vital that all dirt, debris, and cobwebs are cleared away to reduce bacteria growth or mildew formation which could otherwise cause mold growth, rot, and damage to its contents. You can use soft wash and cleaning agents for this task or take the opportunity to repaint as necessary.
After sweeping, it’s essential to thoroughly clean your shed with detergent and water, killing any bacteria that might linger and preparing it for warmer weather. Furthermore, windows in your shed should also be wiped down regularly to keep its appearance at its best.
Once your shed has been cleaned and de-cluttered, you can begin putting things back. Organize items as you place them back so they will be easy to locate when gardening season rolls around; be mindful to store any sharp tools out of reach from children.
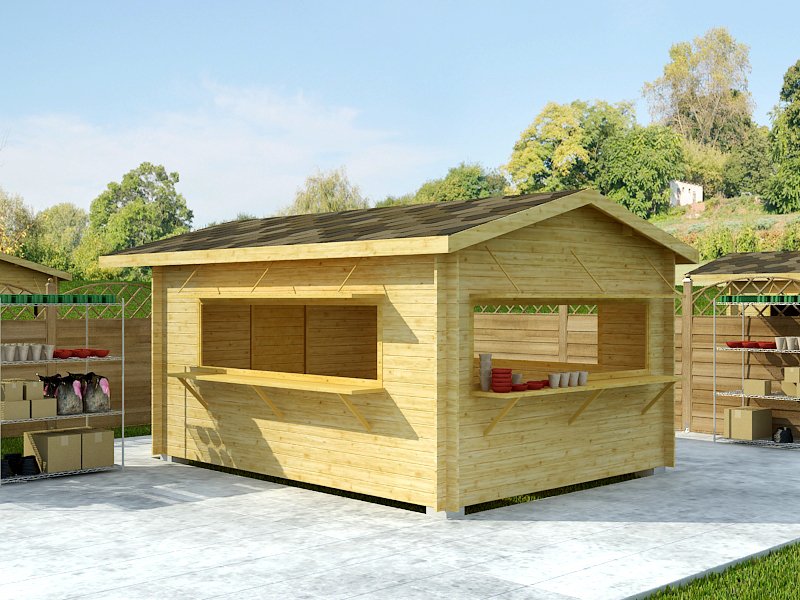
There are various kinds of sheds. While some are designed for aesthetic purposes, there are others which serve more utilitarian purposes – these may include:
Patio Furniture Storage: If you own a large amount of patio and garden furniture, storing it inside a shed will protect it from the elements. Lawn Tool Storage: If your garage doesn’t provide enough room for lawn equipment storage solutions, building a shed for this purpose might also work well. Sheds can even serve other purposes, like acting as she sheds (where women can gather), backyard studios or recording studios.
4. Examine Hardware
As summer winds down, it’s time to pack away patio furniture, gardening tools, and warm-weather toys until next year. To do this effectively requires clearing away clutter in the shed to make room and reorganizing items so they are easily found when necessary – this reduces pest infestation risks as well as mold growth that thrive in cluttered and damp conditions.
Cleaning and decluttering will make your shed look its best. Give it a good sweep and scrub, wash or repaint any windows to remove dirt and mildew build-up, and consider installing gutters to direct rainwater away from its foundation – this can reduce water pooling as well as promote drainage to maintain healthy soil around it.
Another crucial step when building your shed is inspecting all hardware such as door hinges and knobs, locks, windows and workbench fasteners to make sure they’re secure and in good condition. Check for loose hinges or screws, corrosion or broken handles or cracked or chipped window frames; this will help your shed weather the winter chill while protecting its contents from weather elements.
Moisture can be a serious threat to sheds, as it can lead to rot and structural damage. Check your shed for cracks or crevices that allow moisture into its walls or roof and seal any that do with caulking or spray foam sealant. Likewise, clear away any debris from its roof before clearing away grass or shrubbery around it that might form bug shelters around it.
Ventilation is also key in helping prevent heat and moisture build-up inside your shed. Make sure all vents are clear of obstructions, and install window screens if necessary in order to keep out bugs while allowing airflow.
Be sure to store firewood and other flammable items away from your shed to avoid inviting insects and rodents seeking warm places to hibernate during the winter season, and reduces the chances of fire in an unexpected power outage situation. If your shed tends to leak water, consider installing a French drain or gravel base to redirect liquid and melt snow away from its path.